T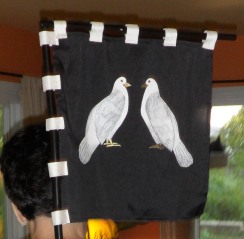 his may be an example of a creative whim that snowballs into something tremendous, though whether that’s a good thing or a bad thing may be up to interpretation.
I made it during a secret-santa-type gift exchange for a gentle with a 16th-c. Japanese persona who enjoys fencing. All in all, I enjoyed making it and learned a lot in the process — though the simple idea turned into a much bigger one that I almost didn’t finish on time.
The concept: make something like this

Source: Wikimedia Commons
and design it so it could be easily transported and stand up on its own. The picture above is actually from an 18th-century woodblock print. However, it’s the best (and earliest) image I could find of someone wearing a sashimono who wasn’t a character in a video game.
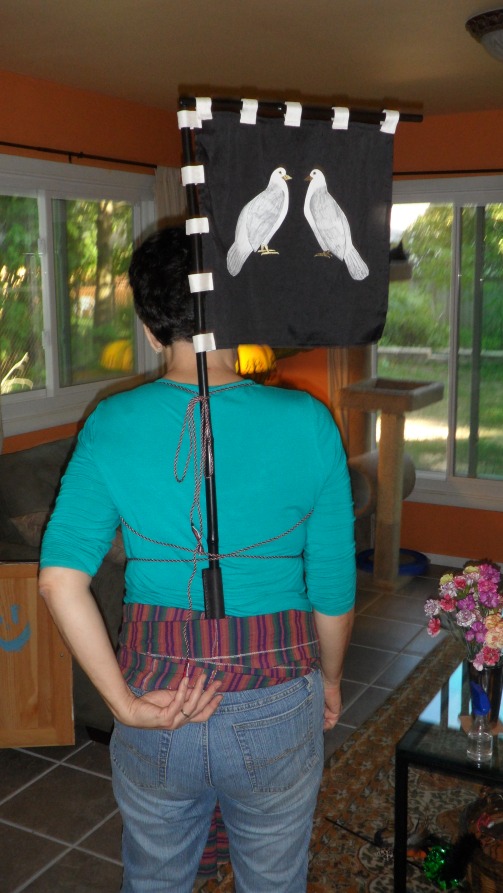
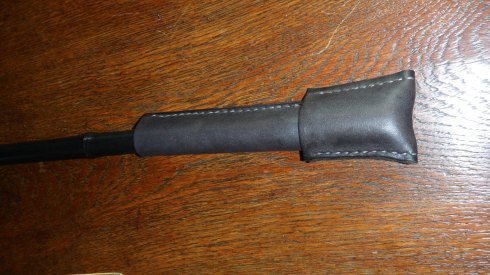
What is it? The sashimono was the flag worn by Japanese warriors into battle to identify one another — similar to the use of decorated shields and device flags in the Western European Middle Ages. The flag pole was strapped to the warrior’s back and tucked into the belt with a leather “bucket” at the base to keep the wood from getting too uncomfortable (that last bit is my conjecture; it’s the best reason I can think of for putting a wooden pole strapped to someone’s backside into what is essentially a leather flagpole condom).
The self-standing version is a bit more of a “creative anachronism”, a cross between the sashimono and a much larger nobori flag, which could be more rectangular but which was likely to be held by one or more soldiers into battle. This version is much smaller. I called it “nobori-chan”.
Materials:
- 1/2 yard of black silk for the flag
- 1/4 yard of white silk for the flag ties
- black bamboo stalks
- 8 skeins of cotton embroidery floss in black, white, and red
- sewing thread
- fabric paints
- scrap wood
- scrap leather
- screws
- black paint
- scrap fabric
- calligraphy / illumination supplies
Tools used:
- Kumihimo foam disk
- small keychain, twist tie, floss cards, scissors (for the kumihimo)
- jigsaw
- power drill
- power sander
- screwdriver
Kumihimo: For the kumihimo, I wrapped the skeins of floss onto eight floss cards, tied the ends in a knot and attached the keychain to the knot as a weight (to help with the tension during the braiding process). I used an 8-thread pattern for a lattice design using three colors. As the cord got longer, the twist tie helped bundle it up and out of the way of the dangling threads. it took me about a month and a half of TV-time and other moments of idle sitting time to braid about 8 feet.
Woodworking: I had a little help with this one. Frankly, I’m still trying to get past an inherent fear of power tools and splinters. It’s helpful to have a spouse who’s willing to show me how to use her tools, and do some of the cutting that involves less trepidation with really fast-moving sharp blades, and give me some of her scrap wood pieces. it also doesn’t hurt that she’s a laurel — Mistress Genevieve du Vaucresson. She may not be laureled in woodworking, but she’s pretty much awesome at everything she does, and that includes teaching me how to make a base for a self-standing flagpole.
To make the base, I used a flat square of plywood and five small rectangles of pine, which were sanded before assembling. 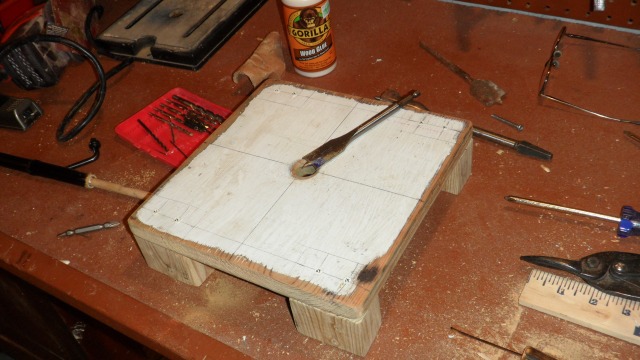
The flat piece has a hole in the middle wide enough to insert the base of the pole (without the leather bucket), and the four pieces screwed into the bottom as feet help give it stability. A fifth rectangle was added under the middle to give the pole a deeper base so it would stand up straighter. The base was then painted black to match the rest of the ensemble.
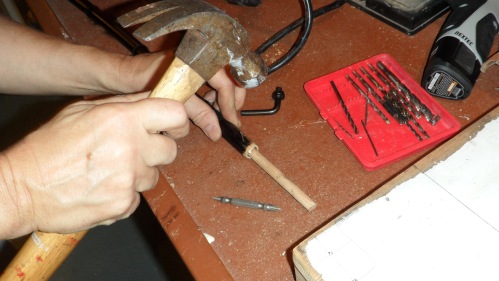
The poles were cut from bamboo that had been painted black. Because I wanted this to be travel-friendly, the pieces are collapsible and hold together by way of small dowel rods glued into the ends.
The poles for the sashimono form an upside-down L. To make it fit into the stand, the leather sheath can be removed from the bottom of that pole, which fits into a third pole to give it a little more height.
Leathercraft: For this, I cut a rectangle out of scrap black leather, bored holes with the awl, and stitched it into a tube with white thread in a basic saddle stitch. I decided to leave the stitches on both sides rather than having just one stitch in a cylinder in the hope that it would help the pole stay in place on Saburo’s back. An additional leather piece was added to give it extra support.
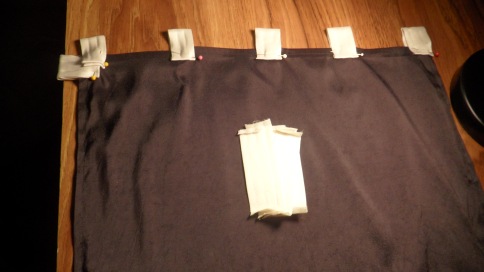
Sewing: Coupons for JoAnn’s helped me afford the silk and still stay within the budget for the entire project. After pre-washing and ironing, the black silk was cut and stitched into a 17″ x 17″ square for the sashimono flag. The nobori, which needed to be more rectangular, was cut from the remaining fabric. The white was folded and stitched into one long tube, which I then cut and stitched into individual loops.
I also used some scrap canvas material to make a bag for the sashimono. The bag has a shoulder strap and is shaped to hold the collapsed poles, the flag rolled up around one of them, and the kumihimo. It’s less pretty, but I was going for functionality foremost here. The base has its own bag because putting it in the same container as the rest would have changed the shape and made it less capable to fit into tiny crevices of a car trunk.
Additionally, once I painted the flags (below) I realized I needed something to keep the paint from rubbing off during storage and transportation, so I created three rectangles of fabric to sandwich around the flags when they are rolled up and put away. They could probably double as napkins in a pinch.
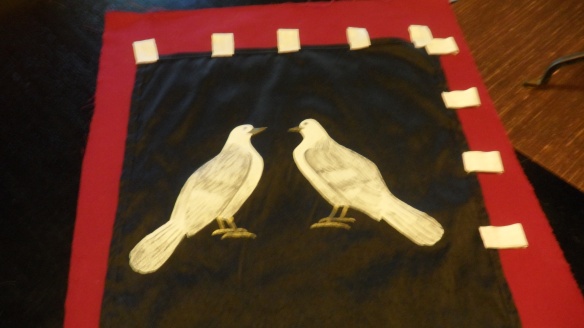
Flag Painting: This took some practice before painting the real thing. I found some online images of Japanese doves on woodblock prints for inspiration, and practiced drawing them facing each other on scrap paper. Then I drew them onto the flag in pencil. Graphite on black silk isn’t terribly easy to see, but it was enough to give me something I could trace with the paintbrush.
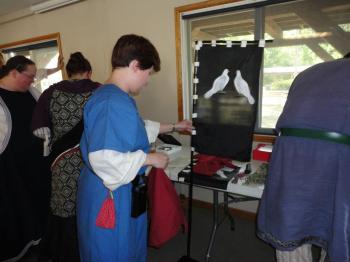
The images of the two hato (doves) facing each other is a badge that the recipient had submitted for registration. I’m crossing my fingers that it’s approved so he can go on to use this flag — but even if he ends up changing the image, I’m hoping that he can use this flag as a pattern and just switch out a new square of fabric with the rest of the sashimono accessories.
Since I’ve completed this project, silk dying has become a lot more common in the SCA. We’ve started making some silk banners in our local group — it would have been interesting to see how these flags could have turned out if I’d known how to dye the design rather than rely on fabric paints.
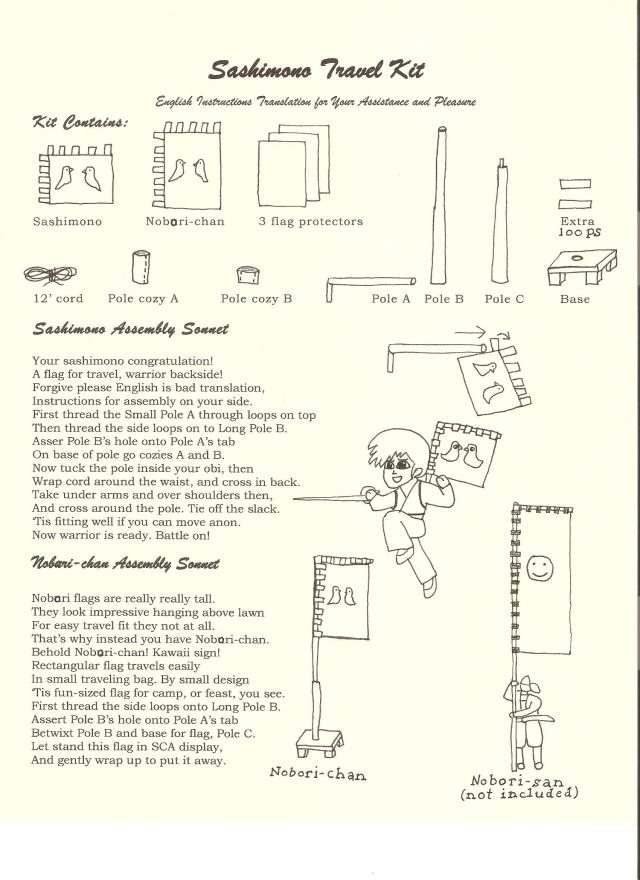
Bardic Geekery: I planned to create assembly instructions because it seemed necessary with so many separate pieces. Because I am also apparently insane, it only seemed appropriate to draw assembly images with cute little manga-style chibi versions of the recipient modeling the sashimono and accompany them with broken-English instructions written as sonnets. How else would a late-16th-century writer translate technical instructions into English? And, yes, apparently I’m enough of a Shakespeare geek that I took that question seriously.

